buy
Email Split Delivery

Overview

This guide will teach you how you can make a split delivery along with various platforms.

Common Steps

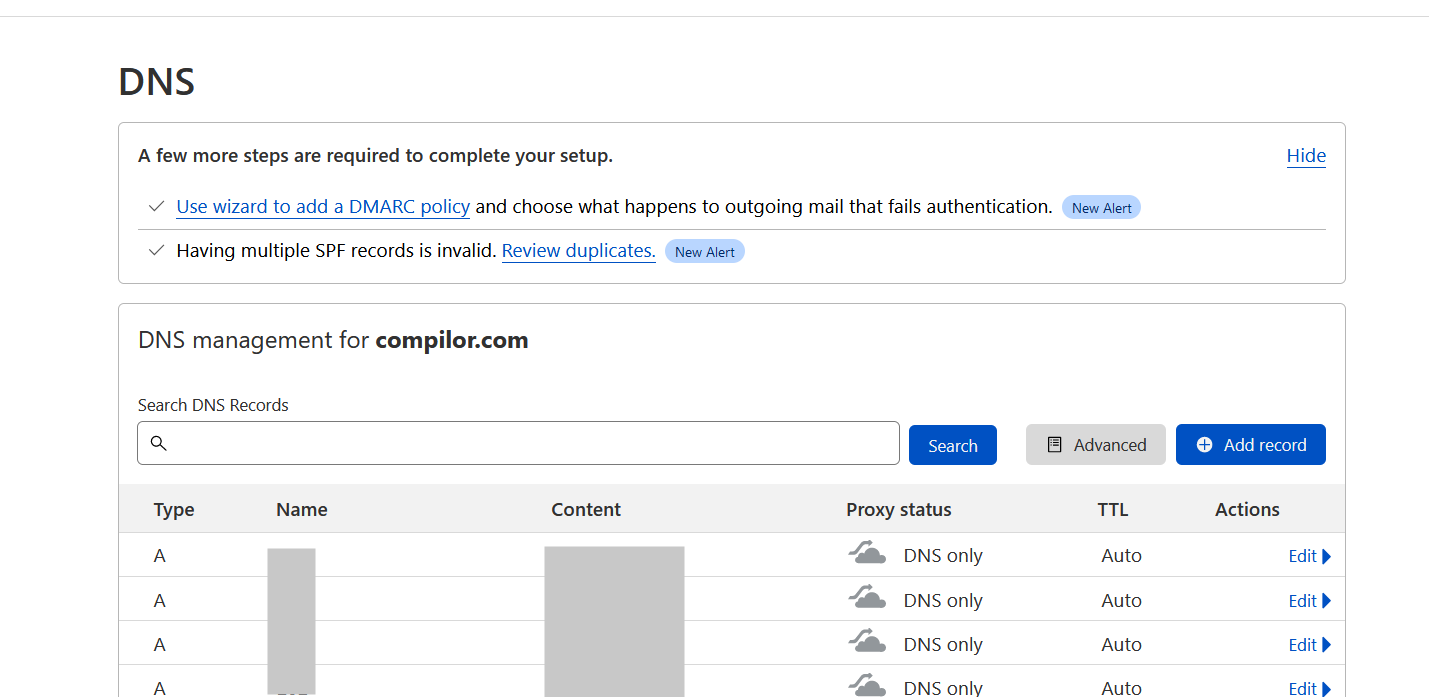
Firstly you have to manage MX records and SPF records from your DNS Zone.

  • Step 1 :- Open your DNS Zone
image
  • Step 2 :- Add/Edit your MX Record priority wise.

NOTE :- The mail will be handle by lowest priority mail server first.

image
  • Step 3 :- Merge SPF Record for both the mail server.
image

So here we had managed our DNS Records for Making Split Delivery now proceeding to Split Delivery Steps with Different Platforms.

Split Delivery Steps

Split Delivery With Microsoft 365

Here we are going to make a Split Delivery between Microsoft 365 and Webuzo.

  • Step 1 :- Login to your Microsoft 365 Admin Center (admin.microsoft.com)
image
  • Step 2 :- Click on Left Menu Button -> Then Click on Show all -> Then click on Exchange
image
image
  • Step 3 :- So now you are redirected towards Admin Exchange Page. Now again click on Menu Button now find Mail Flow there, under Mail Flow you can find Accepted Domain. Click on Accepted Domain.
image
  • Step 4 :- After clicking on Accepted domains you have to select the domain for which you have to make Split Delivery. In the pop up select Internet relay and save it.
image
  • Step 5 :- Now click on Connector and add one Connector. on the pop up select office 365 on connection from and organization or partner organization on connection to and click on next.
image
  • Step 6 :- Now add connector name as you want and click on next.
image
  • Step 7 :- Here in the use of connector choose Only when email messages are sent to these domains and add domain for which you are making these connector and click on next.
image
  • Step 8 :- Here in Routing add your Webuzo Mail Server add click on add then click next.
image
  • Step 9 :- In Security restriction choose Always use TLS for mail security. You can use Any digital certificate or Issued by trusted host then click on next.
image
  • Step 10 :- Then you have to validated your mail server so here you need to create one email on your mail server. Then add that email and click on Validate button. After clicking on Validate button it will send email to your server and try to make a split delivery with your server after getting successful validation click on next.
image
image
image
  • Step 11 :- Now just review your Connector and click on Create connector. So here your connector is created and mail server is successfully ready to make a split delivery between Microsoft 365 and Webuzo.
image
  • Let test it by sending one email to both the mails on Microsoft 365 and Webuzo.
image
  • So here we can see that our server has made Split Delivery between Microsoft 365 and Webuzo.
image
image
    Was this page helpful?
    Newsletter Subscription
    Subscribing you to the mailing list