
Overview
This guide will show you how to import from another Webuzo instance.
During the import process, PostgreSQL and MongoDB databases are not currently supported for automatic import. This functionality is planned for a future release.
At present, PostgreSQL and MongoDB databases must be imported manually.
A) If you're using Webuzo as your DNS server, please follow the steps below carefully to ensure proper DKIM setup before migration. This is crucial to avoid any email deliverability issues after migration.
B) Webuzo currently supports only MariaDB and MySQL databases for import. If you are performing a Webuzo-to-Webuzo import and the source account uses MongoDB or PostgreSQL, the database import will fail, as these database types are not handled by Webuzo. You will need to manually migrate MongoDB or PostgreSQL databases after completing the import.
Before migrating, make sure the destination server uses the same DKIM selector as the source server. Follow these steps:
1. Copy the DKIM Selector from the Source Server
- Go to: Admin Panel > Mail Settings > DKIM Selector and copy the current selector (e.g., x, default, etc.).
2. Set the Same DKIM Selector on the Destination Server
- Go to: Admin Panel > Mail Settings > DKIM Selectoe, paste the selector copied from the source server and save the settings.
3. Update the DKIM Record in the destination's server DNS Template
- From destination server go to Admin Panel > DNS Template and find the record like: default._domainkey.domain_name and Replace default with the selector you copied. (The selector may vary, we're using default as an example)
eg. If the source server has selector is x, update the record to: x._domainkey.domain_name
You can refer to the below screenshot for your reference.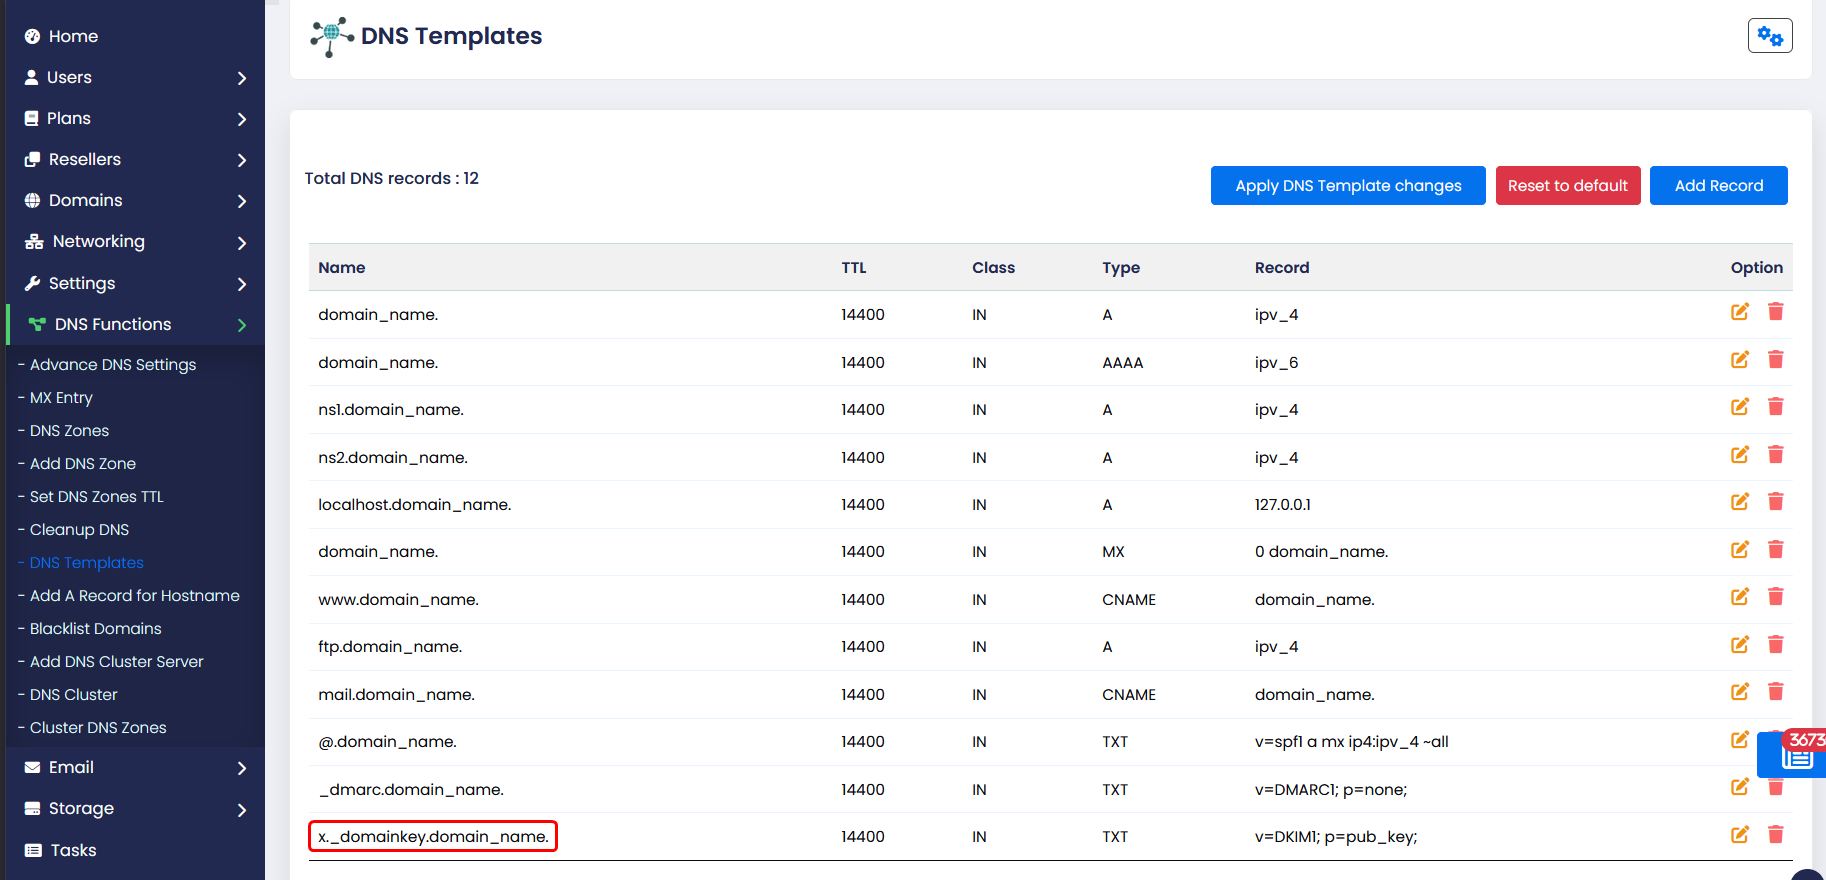
Requirements
Import
Go to Webuzo Admin Panel > Import > Import from Webuzo
Enter the Webuzo server credentials here and click on scan Remote server.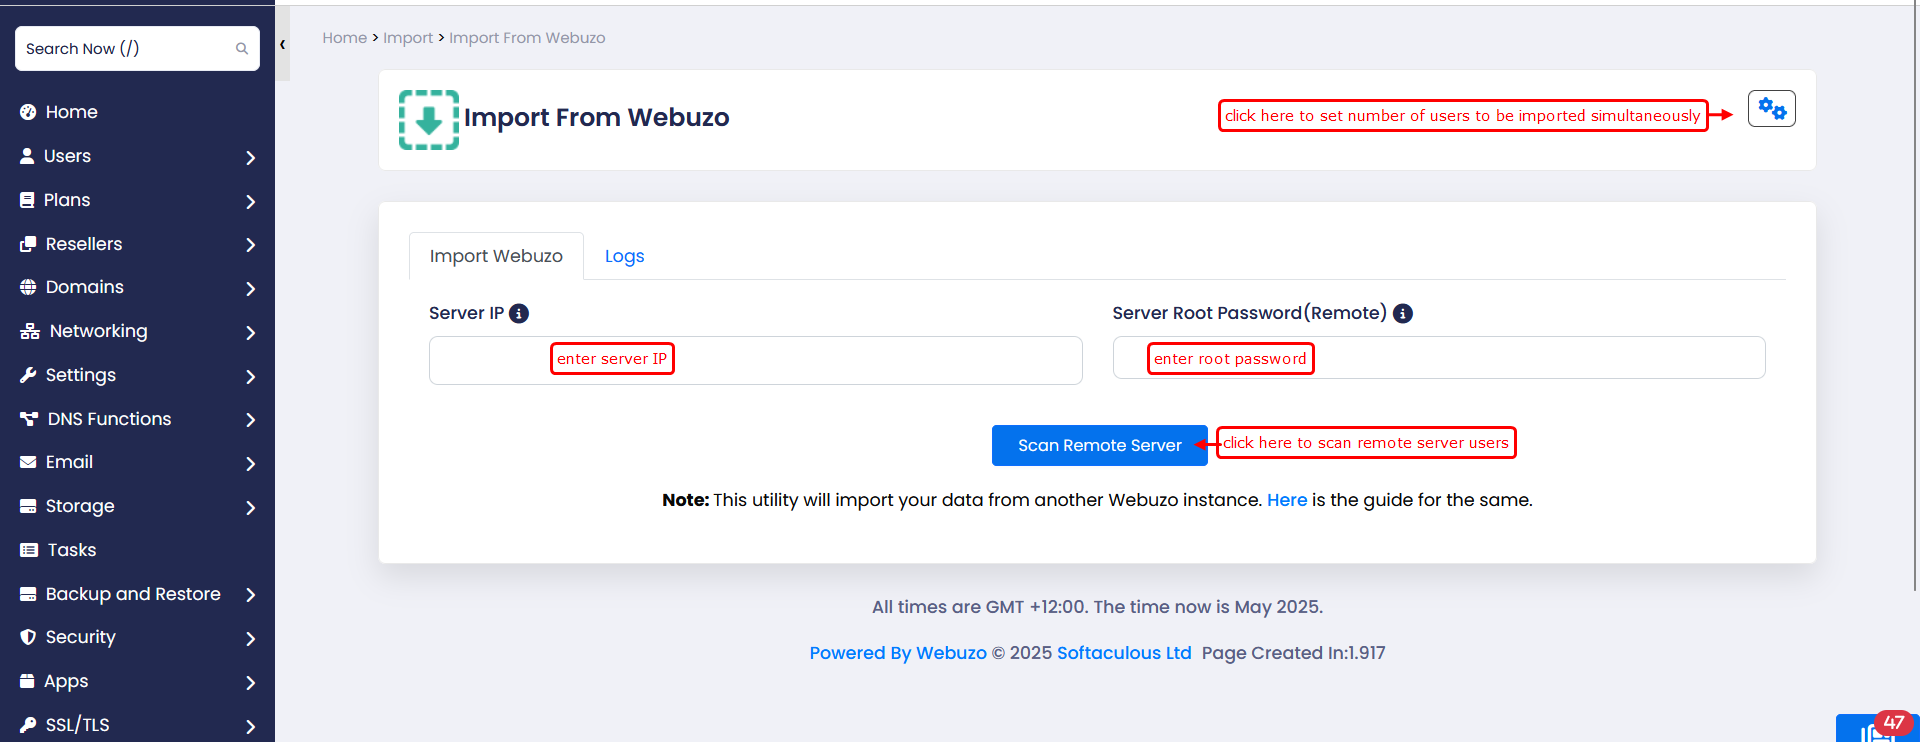
After scanning the Webuzo server you will be seeing all the users from the Remote Webuzo server.
You can select users you want to import or you can select all the users.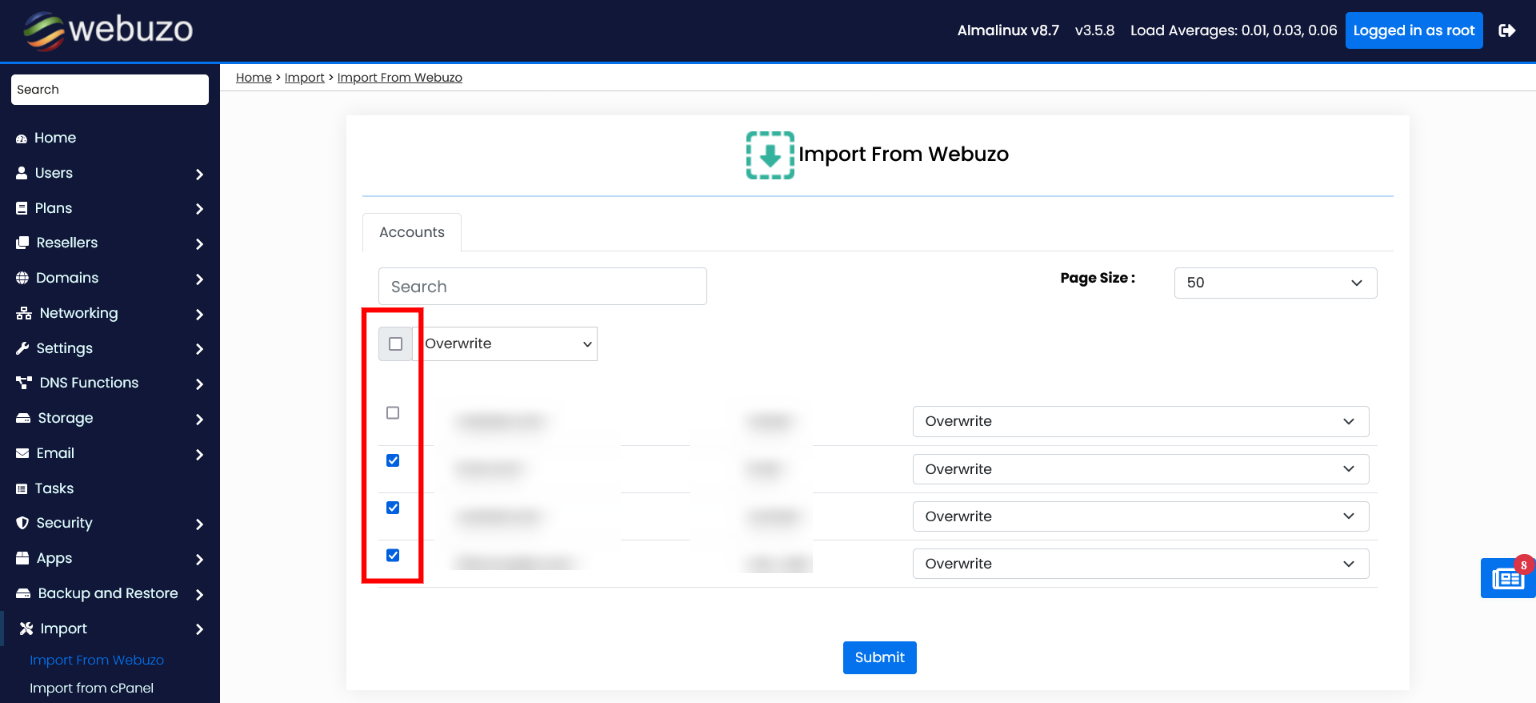
You can also select options from the dropdown list if you want to overwrite the existing user or not.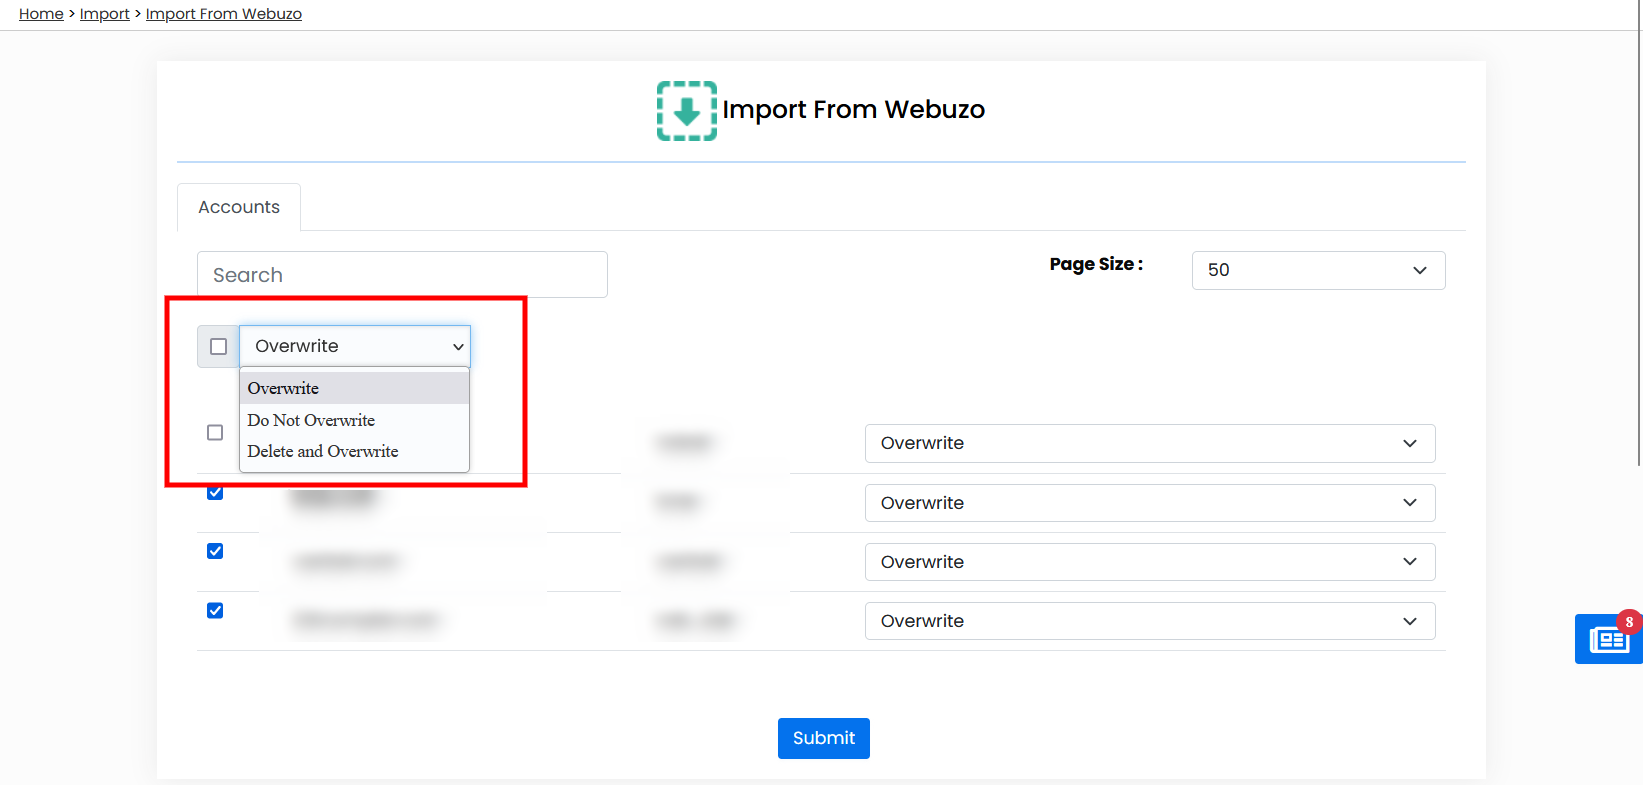
Once you have selected click on Start Import and you will get pop up like this.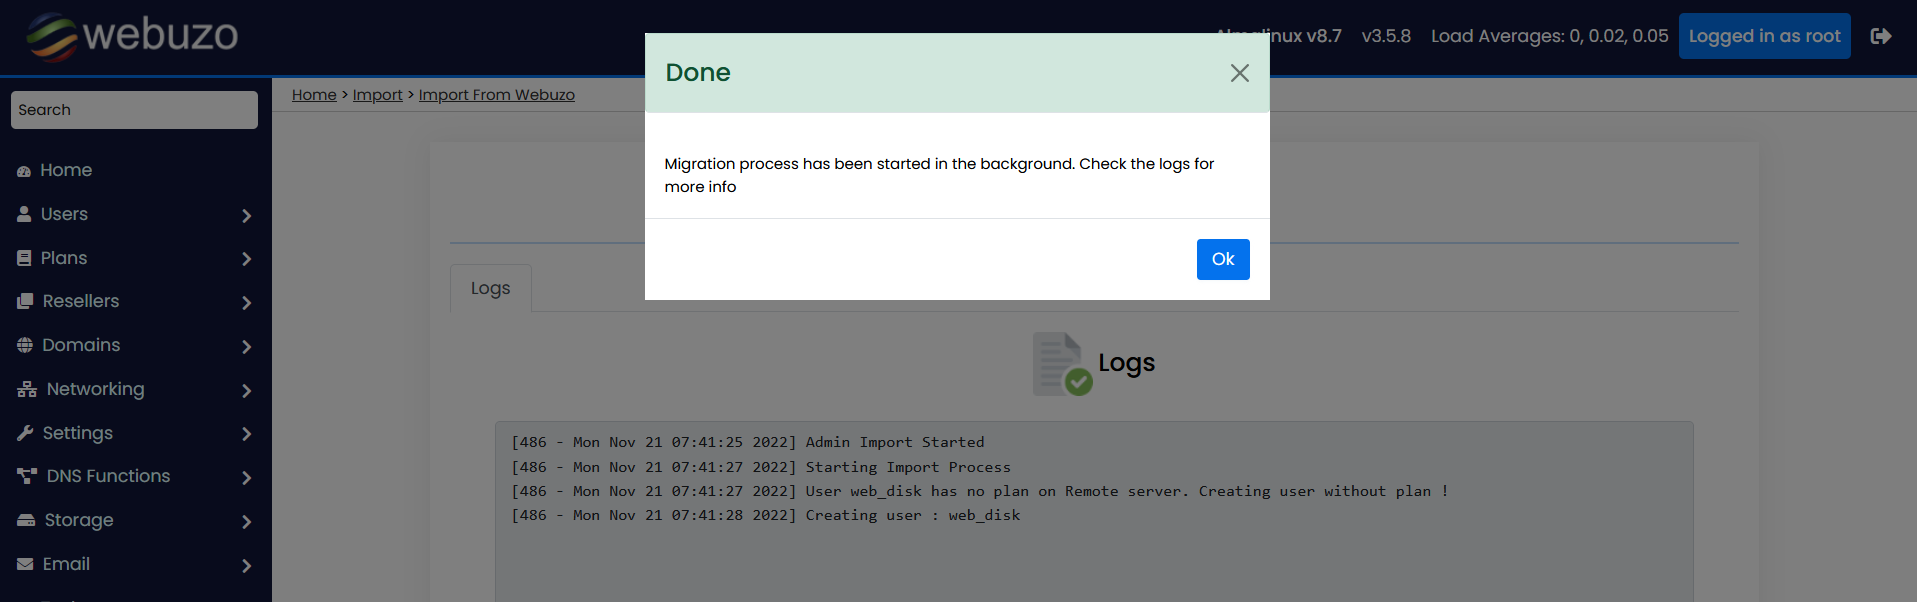
You can also see the logs in logs tab to track the process.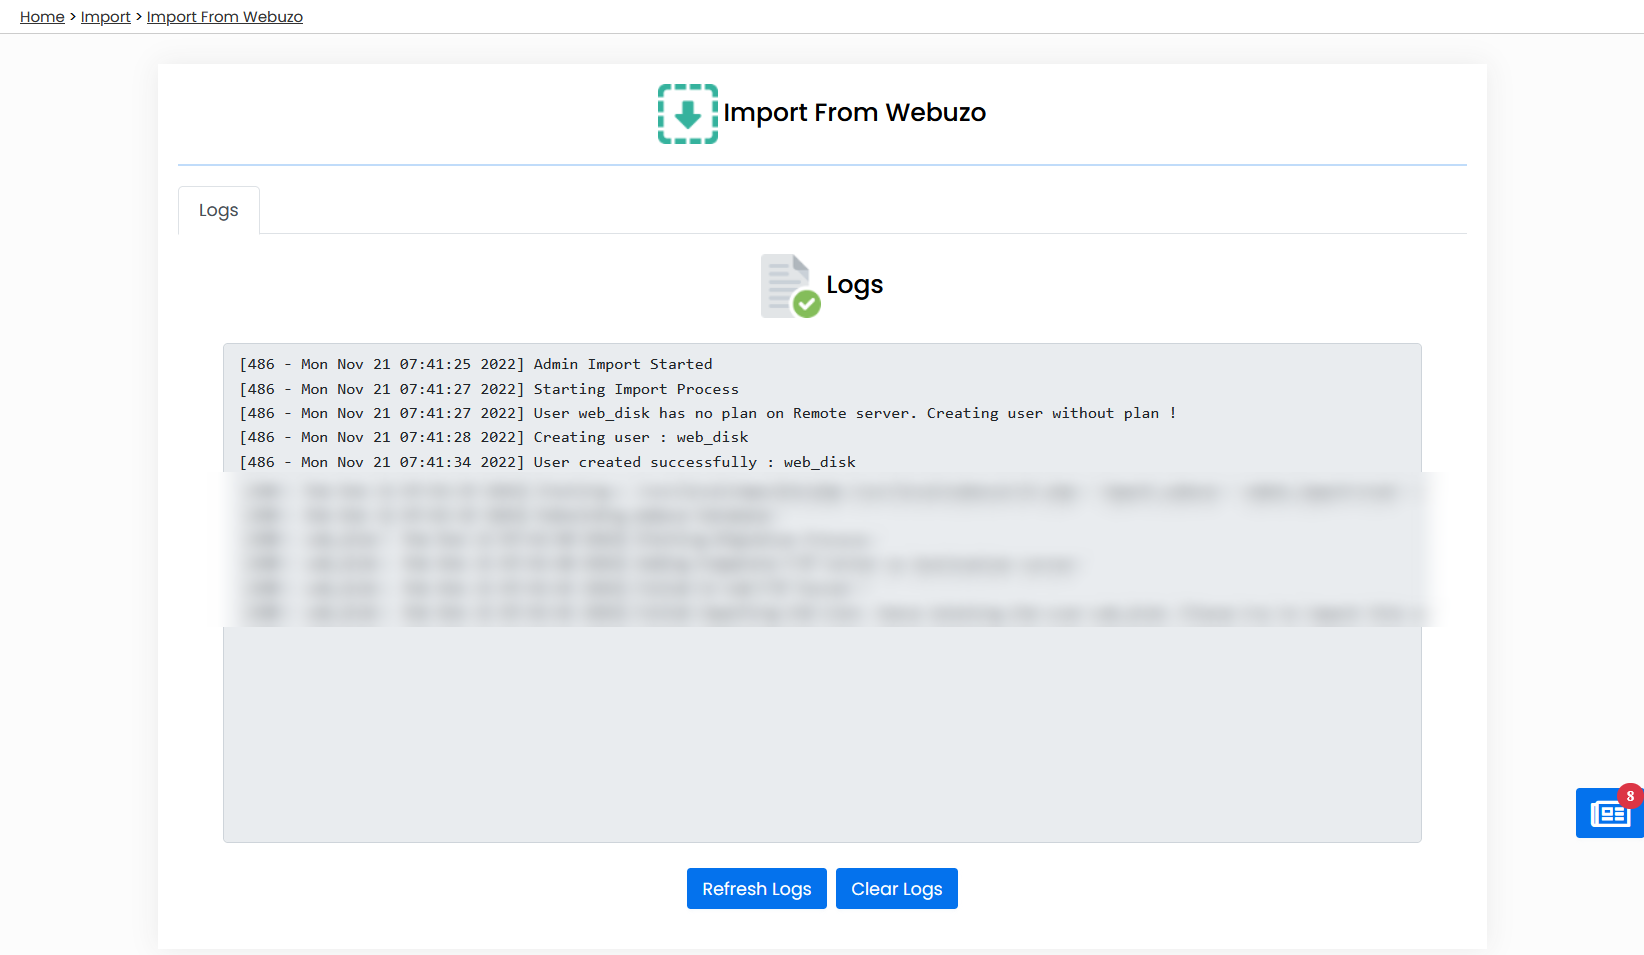
After completion you will get a success message in logs.