
Overview
This guide will show you how to assign multiple IP(s) to multiple users.
Note
- For single IP(s) you can add IP like this(For Example, 151.80.194.222 152.80.195.232 153.80.196.239)
- When adding multiple IP addresses, you must use Class C CIDR format. [Valid example: 192.168.130.125/25]
- IP(s) will be added if it is not present in the IP list.
- The wizard will update the server configuration file and DNS zone files.
- Update your system startup scripts to reflect the new main IP address. (i.e. "/etc/sysconfig/network-scripts/ifcfg-eth0" or "/etc/network/interfaces") and restart the network.
- IP Migration will also change the user domain's IP with the new IP.
Procedure
You can assign IP from Webuzo Admin Panel > Networking > IP migration
Step 1: Enter IP
Enter new IP addresses in the text box and then Submit.
You can add single IP(s) or you can use CIDR notation (for example, 151.80.195.163/25).
Step 2: Confirm the IP address
After adding the IP address confirm the user account's IP(s) in this step.
If you leave empty text box then the user account will use Old IP.
Step 3: Download the translation matrix
After submitting if you want to view a list of each domain’s administrator username, old IP address, and new IP address, click on the download IP translation Matrix option and it will automatically download the ip_migration.htm file.
You can also check the logs of the migration process by clicking on view log option.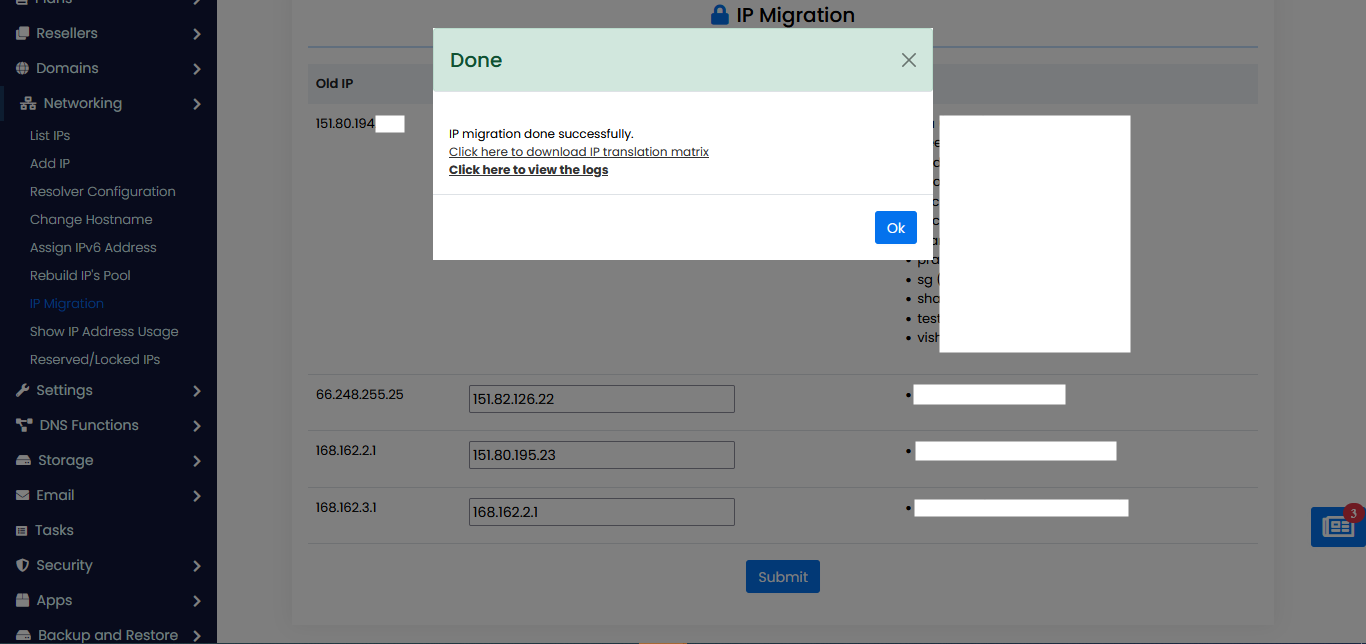
After successful migration you can check List IP wizard here.