Overview
Webuzo supports the remote creation of hosting accounts or reseller accounts via billing systems like Blesta. Blestacan be configured to create the account as soon as you accept the Order (Automatically or Manually). We provide a module for Blesta to enable you to do so. Setting it up is really easy. You can create, delete, suspend a hosting account with this module.
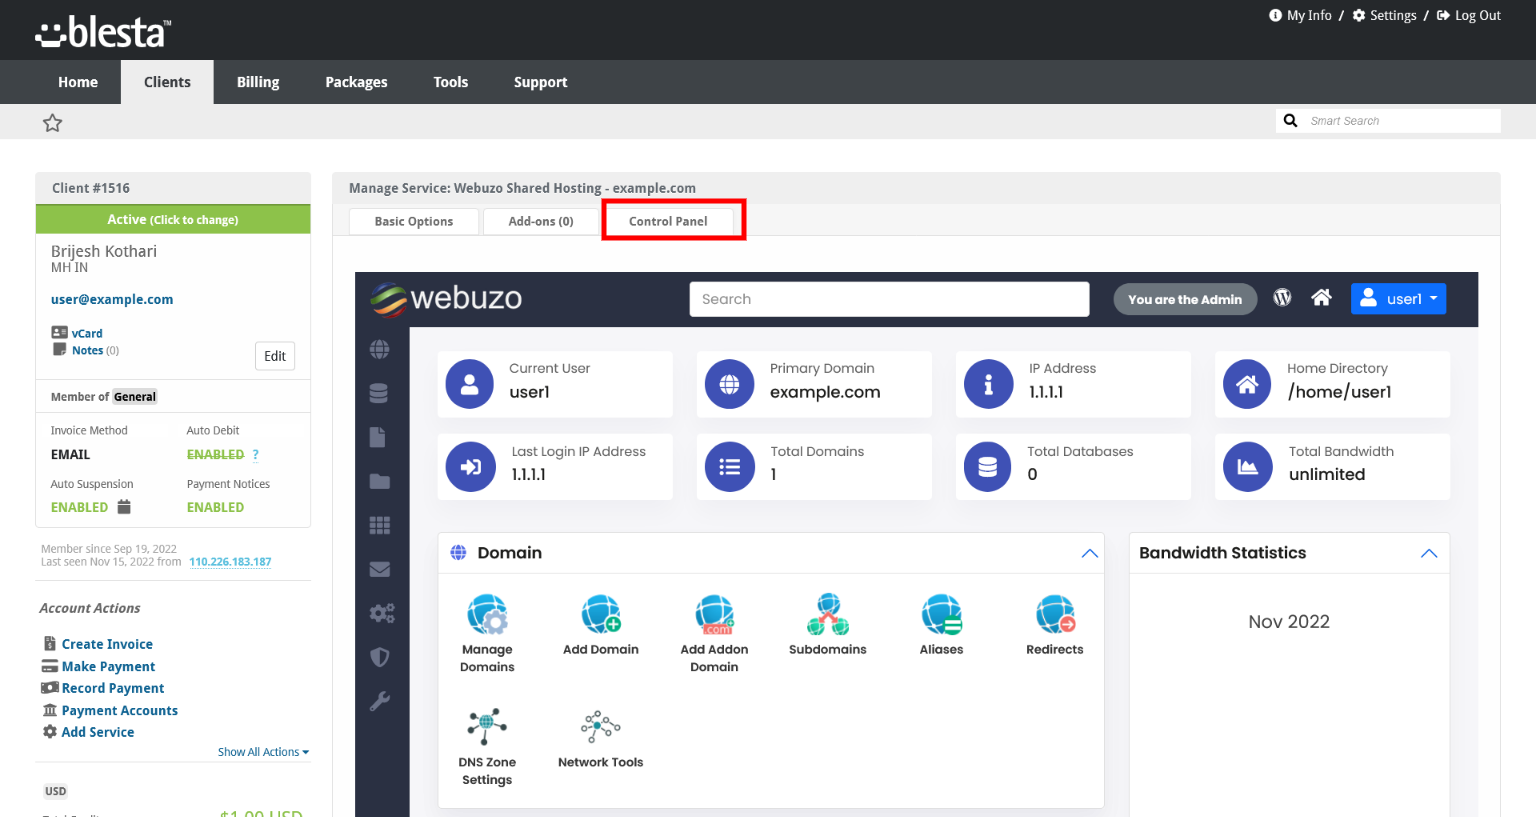
The endusers i.e. hosting account(s) or reseller account(s) can also manage their data through the Blesta interface without actually logging into Webuzo.
Requirements
Blesta v5 will be required for this module.
Download
Download the Webuzo Blesta module from HERE. (Last updated : June, 2021)
Unzip it and upload the folder webuzo (the folder itself), in your /path/to/blesta/components/modules/ directory.
Please make sure that the upload was done properly and the following folder exists :
/path/to/blesta/components/modules/webuzo
Ports
Webuzo uses ports from 2002 – 2005. If there is any firewall restricting this, you will need to allow these ports.
Webuzo Server API Keys
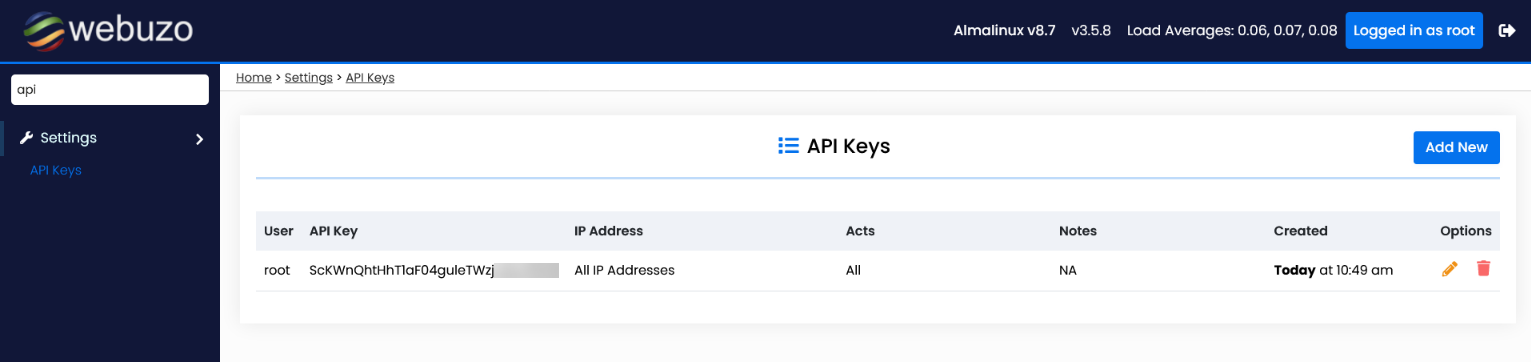
You will need to create API Keys in Webuzo to add the server to Blesta.
To do this go to your Webuzo Admin Panel -> Settings -> API Keys and click on Add New

Add Webuzo Server to Blesta
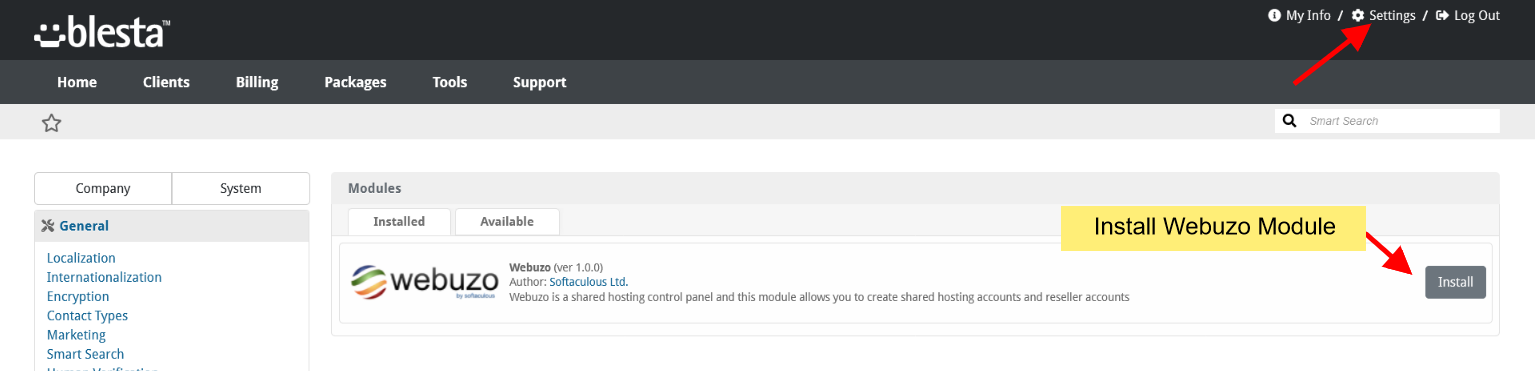
To add the Webuzo Server, navigate to Settings Page, under Modules > Installed Page, click on Manage Button
Fill the form as shown in the below images :

You can also add that server into a Server Group
Create a Package
Make sure you have added the Server to create a Blesta Package. To add the Package, navigate to Packages (in the Top Bar) -> Browse Packages and click on Create Package Button on that page.

Module Options
While creating the package please select the module as Webuzo and then the Module Options will load. In the Module Options choose the Webuzo Master Group as Any or the group you created. Then choose the Webuzo Master Server on which this package will create the accounts on. Then choose the Plan which will be loaded from the Webuzo Server.
If you haven’t created a Webuzo Plan you will need to do so as following :
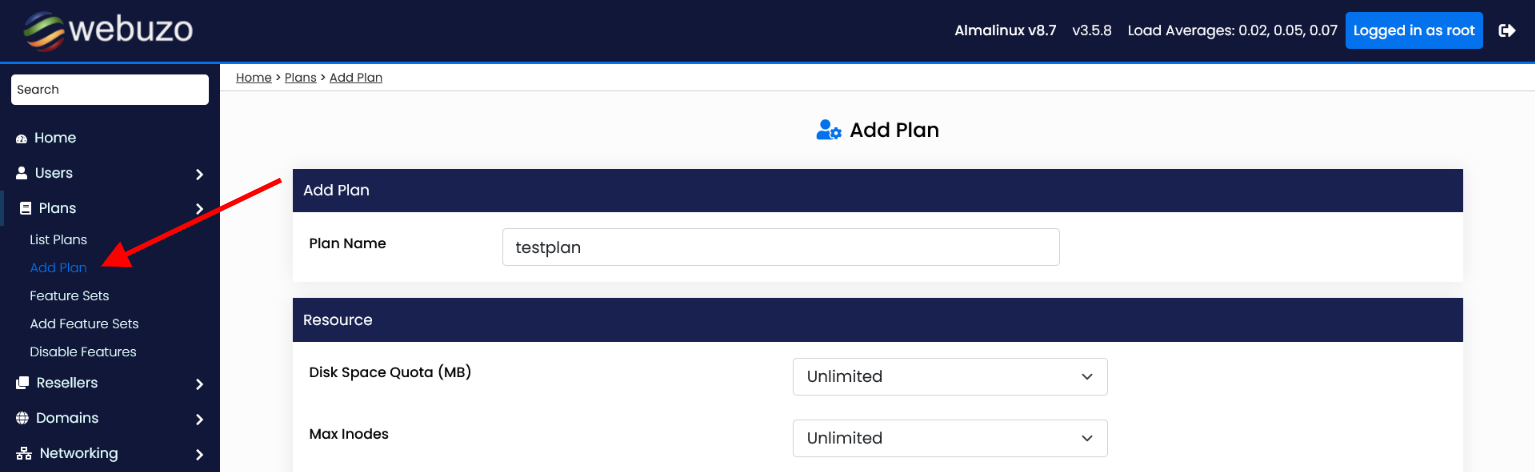

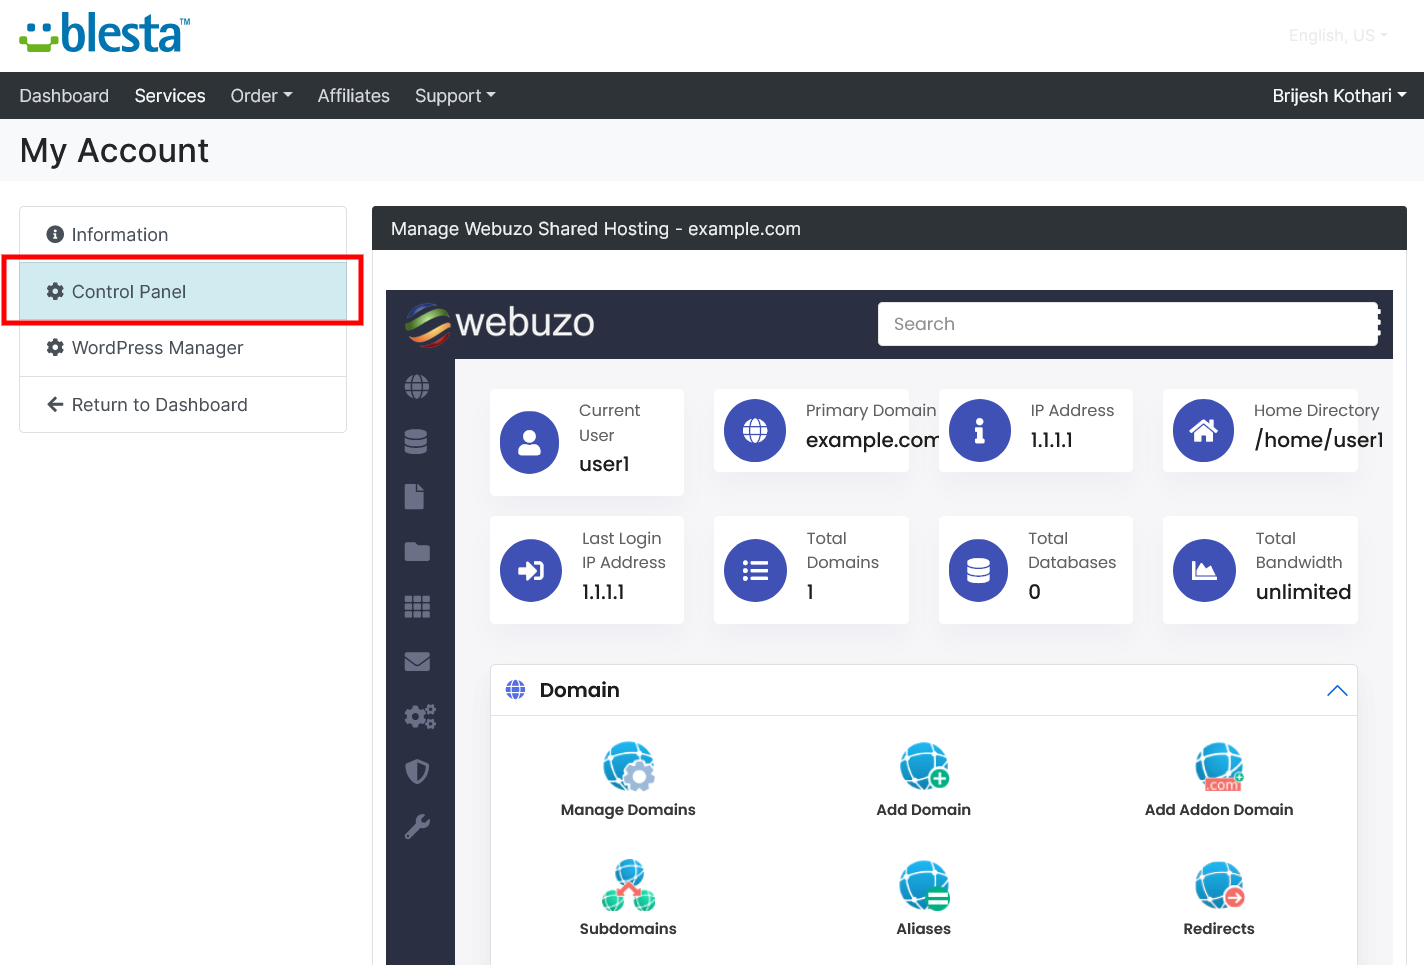
Similarly the Admin can also manage all aspects of the hosting account :