This guide shows you how to install Django and to create Django Projects and Django Web Applications.
Note: Here Django in not installed in Virtual Environment. If you want to use Django in Virtual Environment, you will have to manually install Django in the created Virtual Environment.
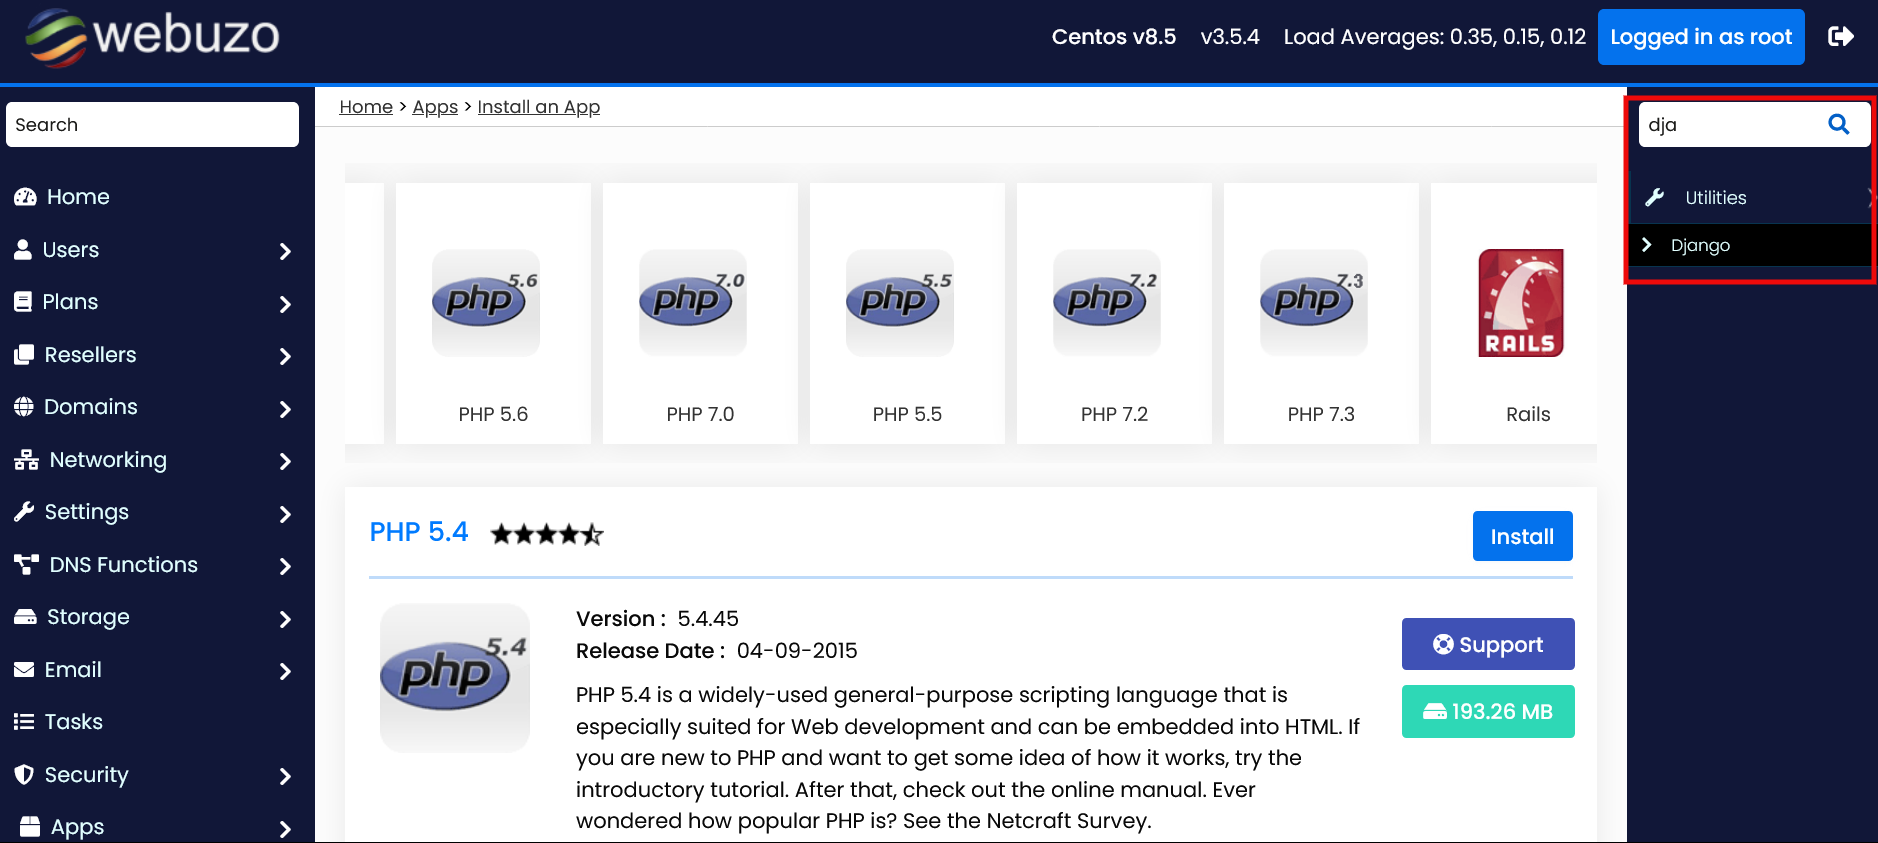
You can install Django from your Webuzo AdminPanel >> Home >> Apps >> Install an App
searching Django in the search search bar given on the rightside panel.

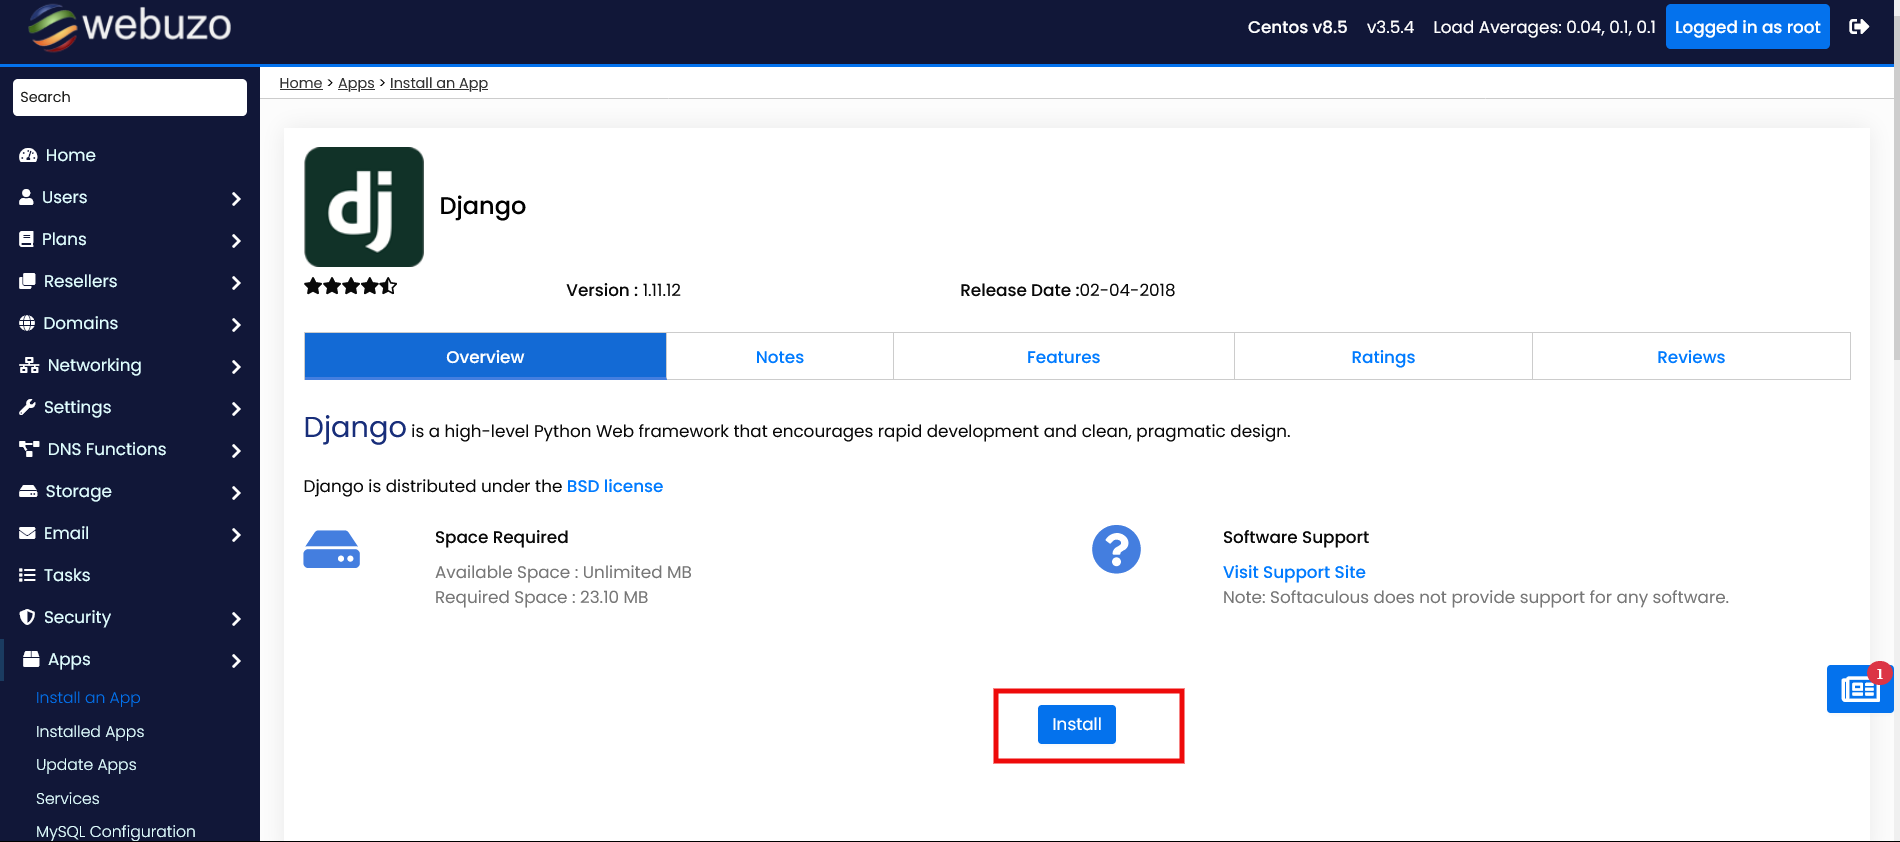
Once you click on the Django you will be redirected to its installation page. Click on the given Install button in order to start the installation process.

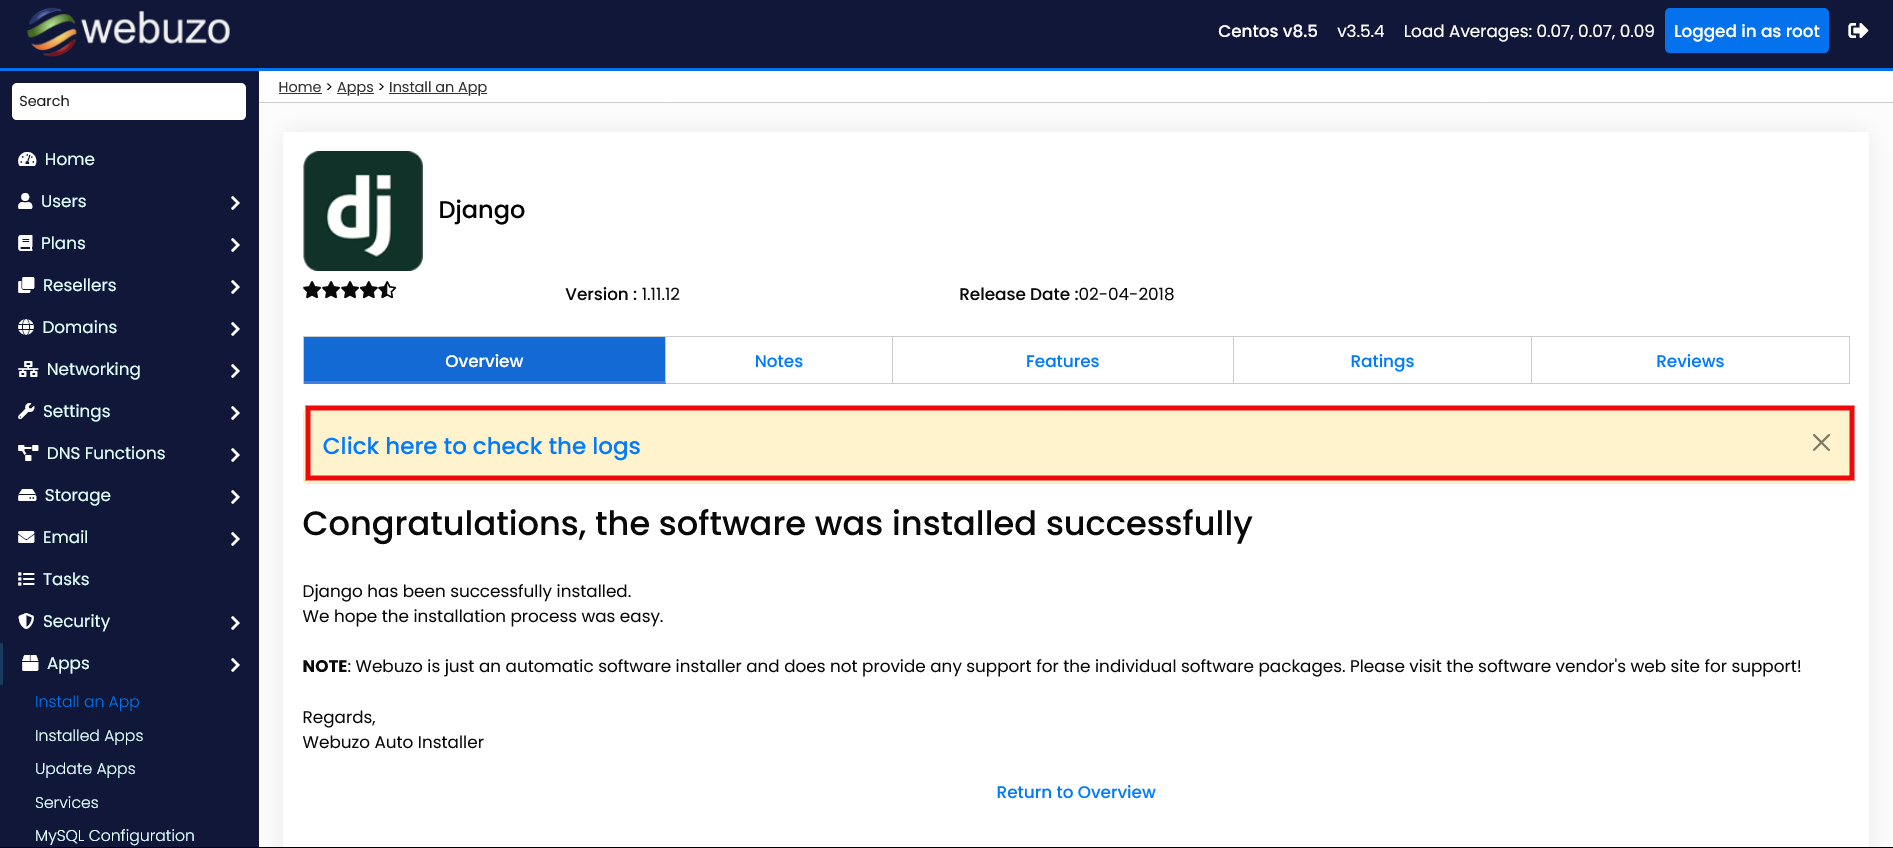
Once completed, you will receive the success message or you can see logs also.

Create A Django Web Project
The following is procedure for creating a test Django web project. You need to have SSH access to your server for creating Django project as well as Django application.
Procedure
You can create a test Django project by executing the given below commands on the command-line:
# /usr/local/apps/python2/bin/django-admin startproject djangoproject
# cd djangoproject
[djangoproject]# /usr/local/apps/python2/bin/python manage.py runserver [your_server_ip_or_domain]:8000 Performing system checks...

System check identified no issues (0 silenced).

Django version 1.11.12, using settings 'djangoproject.settings' Starting development server at http://[your_server_ip_or_domain]:8000/ Quit the server with CONTROL-C.
Once you have started the web server with the above command, you can now access the project from web browser as follows:
http://[your_server_ip_or_domain]:8000
Error
If you get Invalid HTTP_HOST header: [your_server_ip_or_domain]:8000 error then you will have to add your server IP or the domain with which you have executed the django project to the ALLOWED_HOST array in the 'settings.py' file which can be found at the following location:
/path/to/django_project/django_project_named_dir/settings.pyNote: The Django Project name 'djangoproject' used here is just for example purpose. You can provide any name you want for your django project.
Once added, refresh your Django Project web page on the web browser which you had opened previously. The page will be seen displaying a message saying 'It worked!' as shown in the below given screenshot:

Create A Django Web Application
After successfully creating Django project, you can create a test Django Web App.
Procedure
You will have to execute the following commands on the command-line for creating a django web app:
[djangoproject]# /usr/local/apps/python2/bin/django-admin startapp djangoapp- After creating app, we need to add the newly created app to the list of installed apps in the settings.py file of Django project so that Django can refer to it. In order to so, open the settings.py file which can be found at
path/to/[django_project_name]/[django_project_named_dir]/settings.py# Add the app "djangoapp" in INSTALLED_APPS
INSTALLED_APPS = [
'djangoapp',
]in a text editor and add Django app to the INSTALLED_APPS list.
[djangoproject]# cd djangoapp
[djangoproject/djangoapp] # mkdir templates
[djangoproject/djangoapp] # cd templates
[djangoproject/djangoapp] # touch index.html- Next, open the index.html file created and add the following code in it:
<html>
<head><title>Home Page</title></head>
<body>
Hello world
</body>
</html>- Once added, execute the below given command:
[djangoproject/djangoapp/templates]# cd ..- Once done, open djangoapp/views.py file and append the following code:
from django.views.generic import TemplateView
class HomeView(TemplateView):
template_name = 'index.html'- After that, execute the below given commands in given order:
[djangoproject/djangoapp/templates]# cd ..
[djangoproject/djangoapp]# cd ..
[djangoproject]# cd djangoproject- Open the djangoproject/urls.py file and replace with the below given code:
from django.conf.urls import url
from django.contrib import admin
from djangoapp.views import HomeView
urlpatterns = [
    url(r'^admin/', admin.site.urls),
    url(r'^$', HomeView.as_view()),
]- Then execute the below given commands:
[djangoproject/djangoproject]# cd ..
[djangoproject]# /usr/local/apps/python2/bin/python manage.py runserver [your_server_ip_or_domain]:8000
Note: The Django Web Application name 'djangoapp' used here is just for example purpose. You can provide any name for your django web application.
Now refresh the Django Project web page which has been opened on the web browser. You will find a Hello World message been displayed on the page.
