Overview
This guide will show you how to install and integrate cPGuard in Webuzo Control Panel.
cPGuard is a comprehensive, multi-layered security suite designed specifically for Linux web hosting servers. It provides real-time protection against web attacks, automatic
malware detection and remediation, Web Application Firewall (WAF) capabilities, IP reputation management, and distributed brute-force mitigation to ensure full server security.
Install cPGuard Plugin
Follow these steps to install cPGuard on your Webuzo server:
1. Connect to your server via SSH as the root user.
2. Run the following installation command in your terminal:
cd /usr/local/src && rm -f cpguard_install.sh && curl -o cpguard_install.sh -L https://downloads.opsshield.com/cpguard/cpguard_install.sh && bash cpguard_install.sh LICENCE-KEYThe installer will automatically detect your environment, configure necessary system services, and bind cPGuard to Webuzo.
Activate License
If you need to register, update, or switch your cPGuard license key after installation, use the following CLI commands:
cpgcli license --key LICENSE-KEYAdmin Panel Integration
Once installed, administrators can manage cPGuard directly from Webuzo:
1. Log in to your Webuzo Admin Panel.
2. Admin panel > cPGuard Security (or Plugins).
3. From here, administrators can:
• Access the cPGuard Portal via Single Sign-On (SSO).
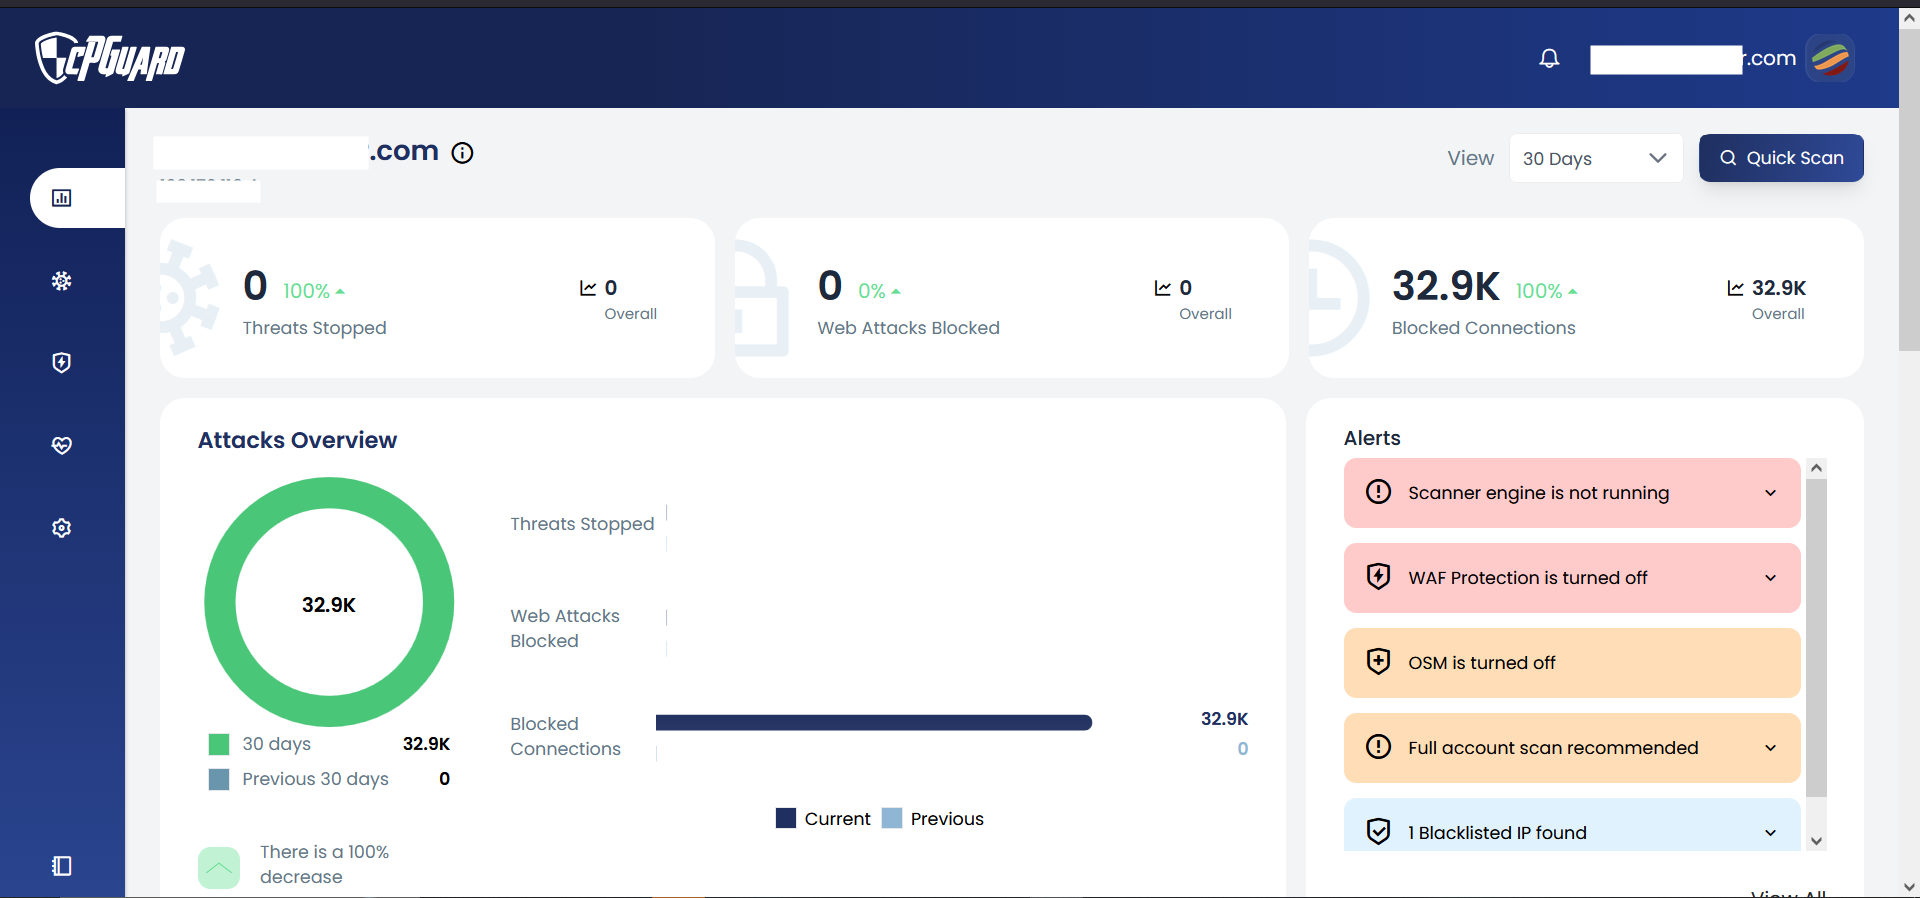
• Monitor real-time malware alerts and server threat intelligence.
• Configure global scanner rules, WAF rules, and IP whitelists/blacklists.
Enduser Panel Integration
cPGuard includes a user-level interface plugin for Webuzo end-users:
1. Log in to the Webuzo Enduser Panel.
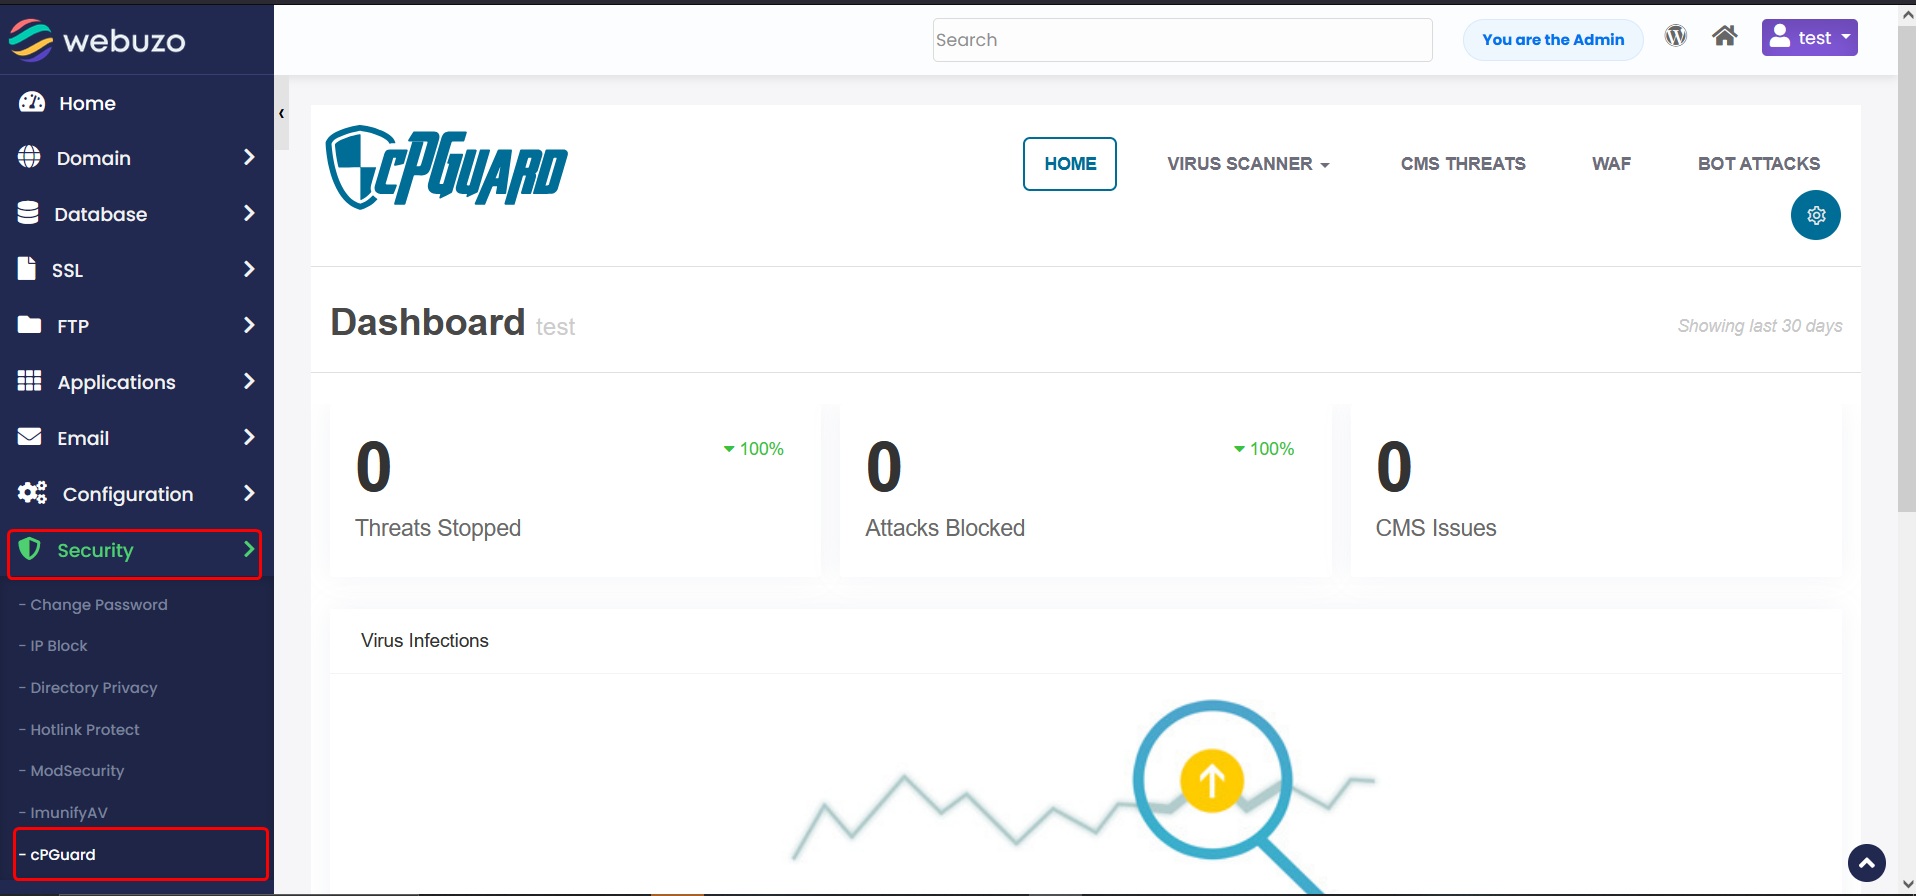
2. Go to the Security category and click on cPGuard.
3. End-users can:
• View the security health and malware status of their websites.
• Trigger manual on-demand file scans for their domain directory.
• View quarantined files and restore false-positive detections.
• Access domain-level attack logs and WAF activity.